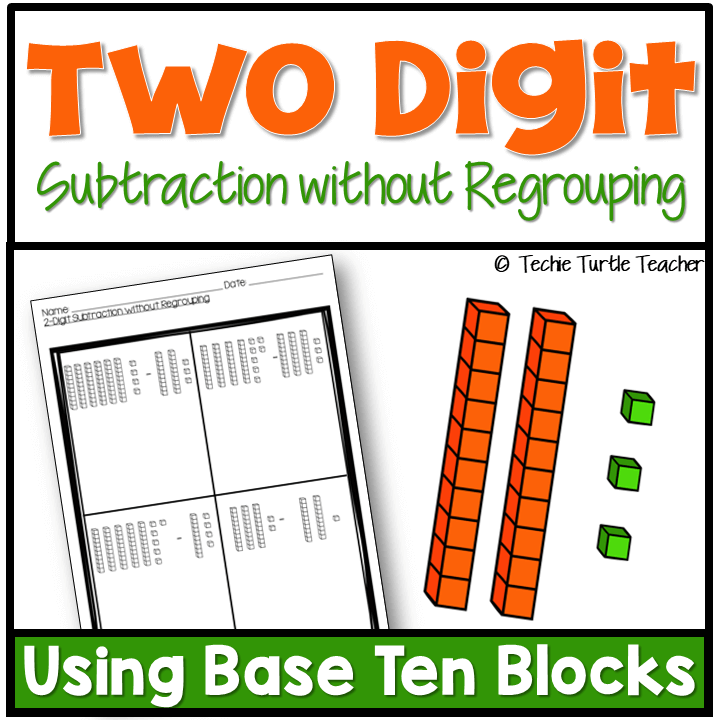
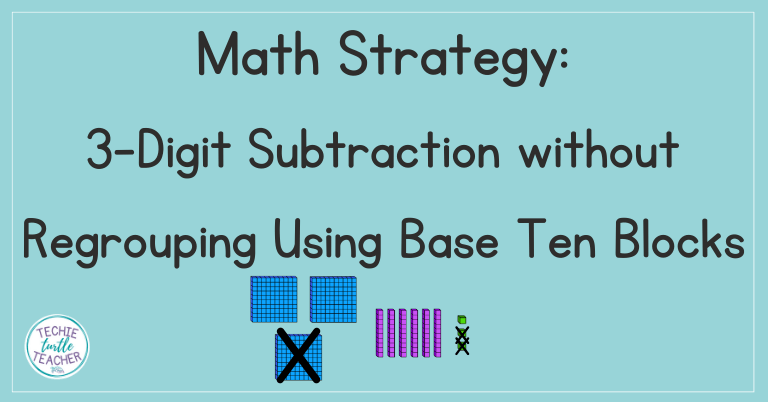
2-Digit Subtraction without Regrouping Using Base Ten Blocks
This post may contain affiliate links and I will be compensated if you make a purchase after clicking on my links. I only recommend products that I use and love.
Table of Contents
Once students are familiar with addition strategies, they’re ready to subtract 2-digit numbers.
A strong foundation in subtraction without regrouping is key for helping students understand the concept of place value and develop number sense.
It was always my starting point when teaching 2-digit subtraction.
I spent many days teaching 2.NBT.5 to build that foundation – and I never felt the need to rush.
Students need time to master subtraction without regrouping before they’re ready to understand how and when to regroup.
There are lots of strategies for teaching this skill, but I like to begin with base ten blocks.
It gives students a hands-on way to visualize numbers and helps them grasp the “take away” concept more clearly.
If you’re looking for something low-prep but meaningful to use during this unit, I have a ready-to-go resource that follows this same sequence: manipulatives, drawings, and then student-created visuals.
It saves a lot of time planning and keeps students engaged.
Let’s walk through the steps I teach to introduce subtraction without regrouping using base ten blocks.
Start with Physical Base Ten Blocks
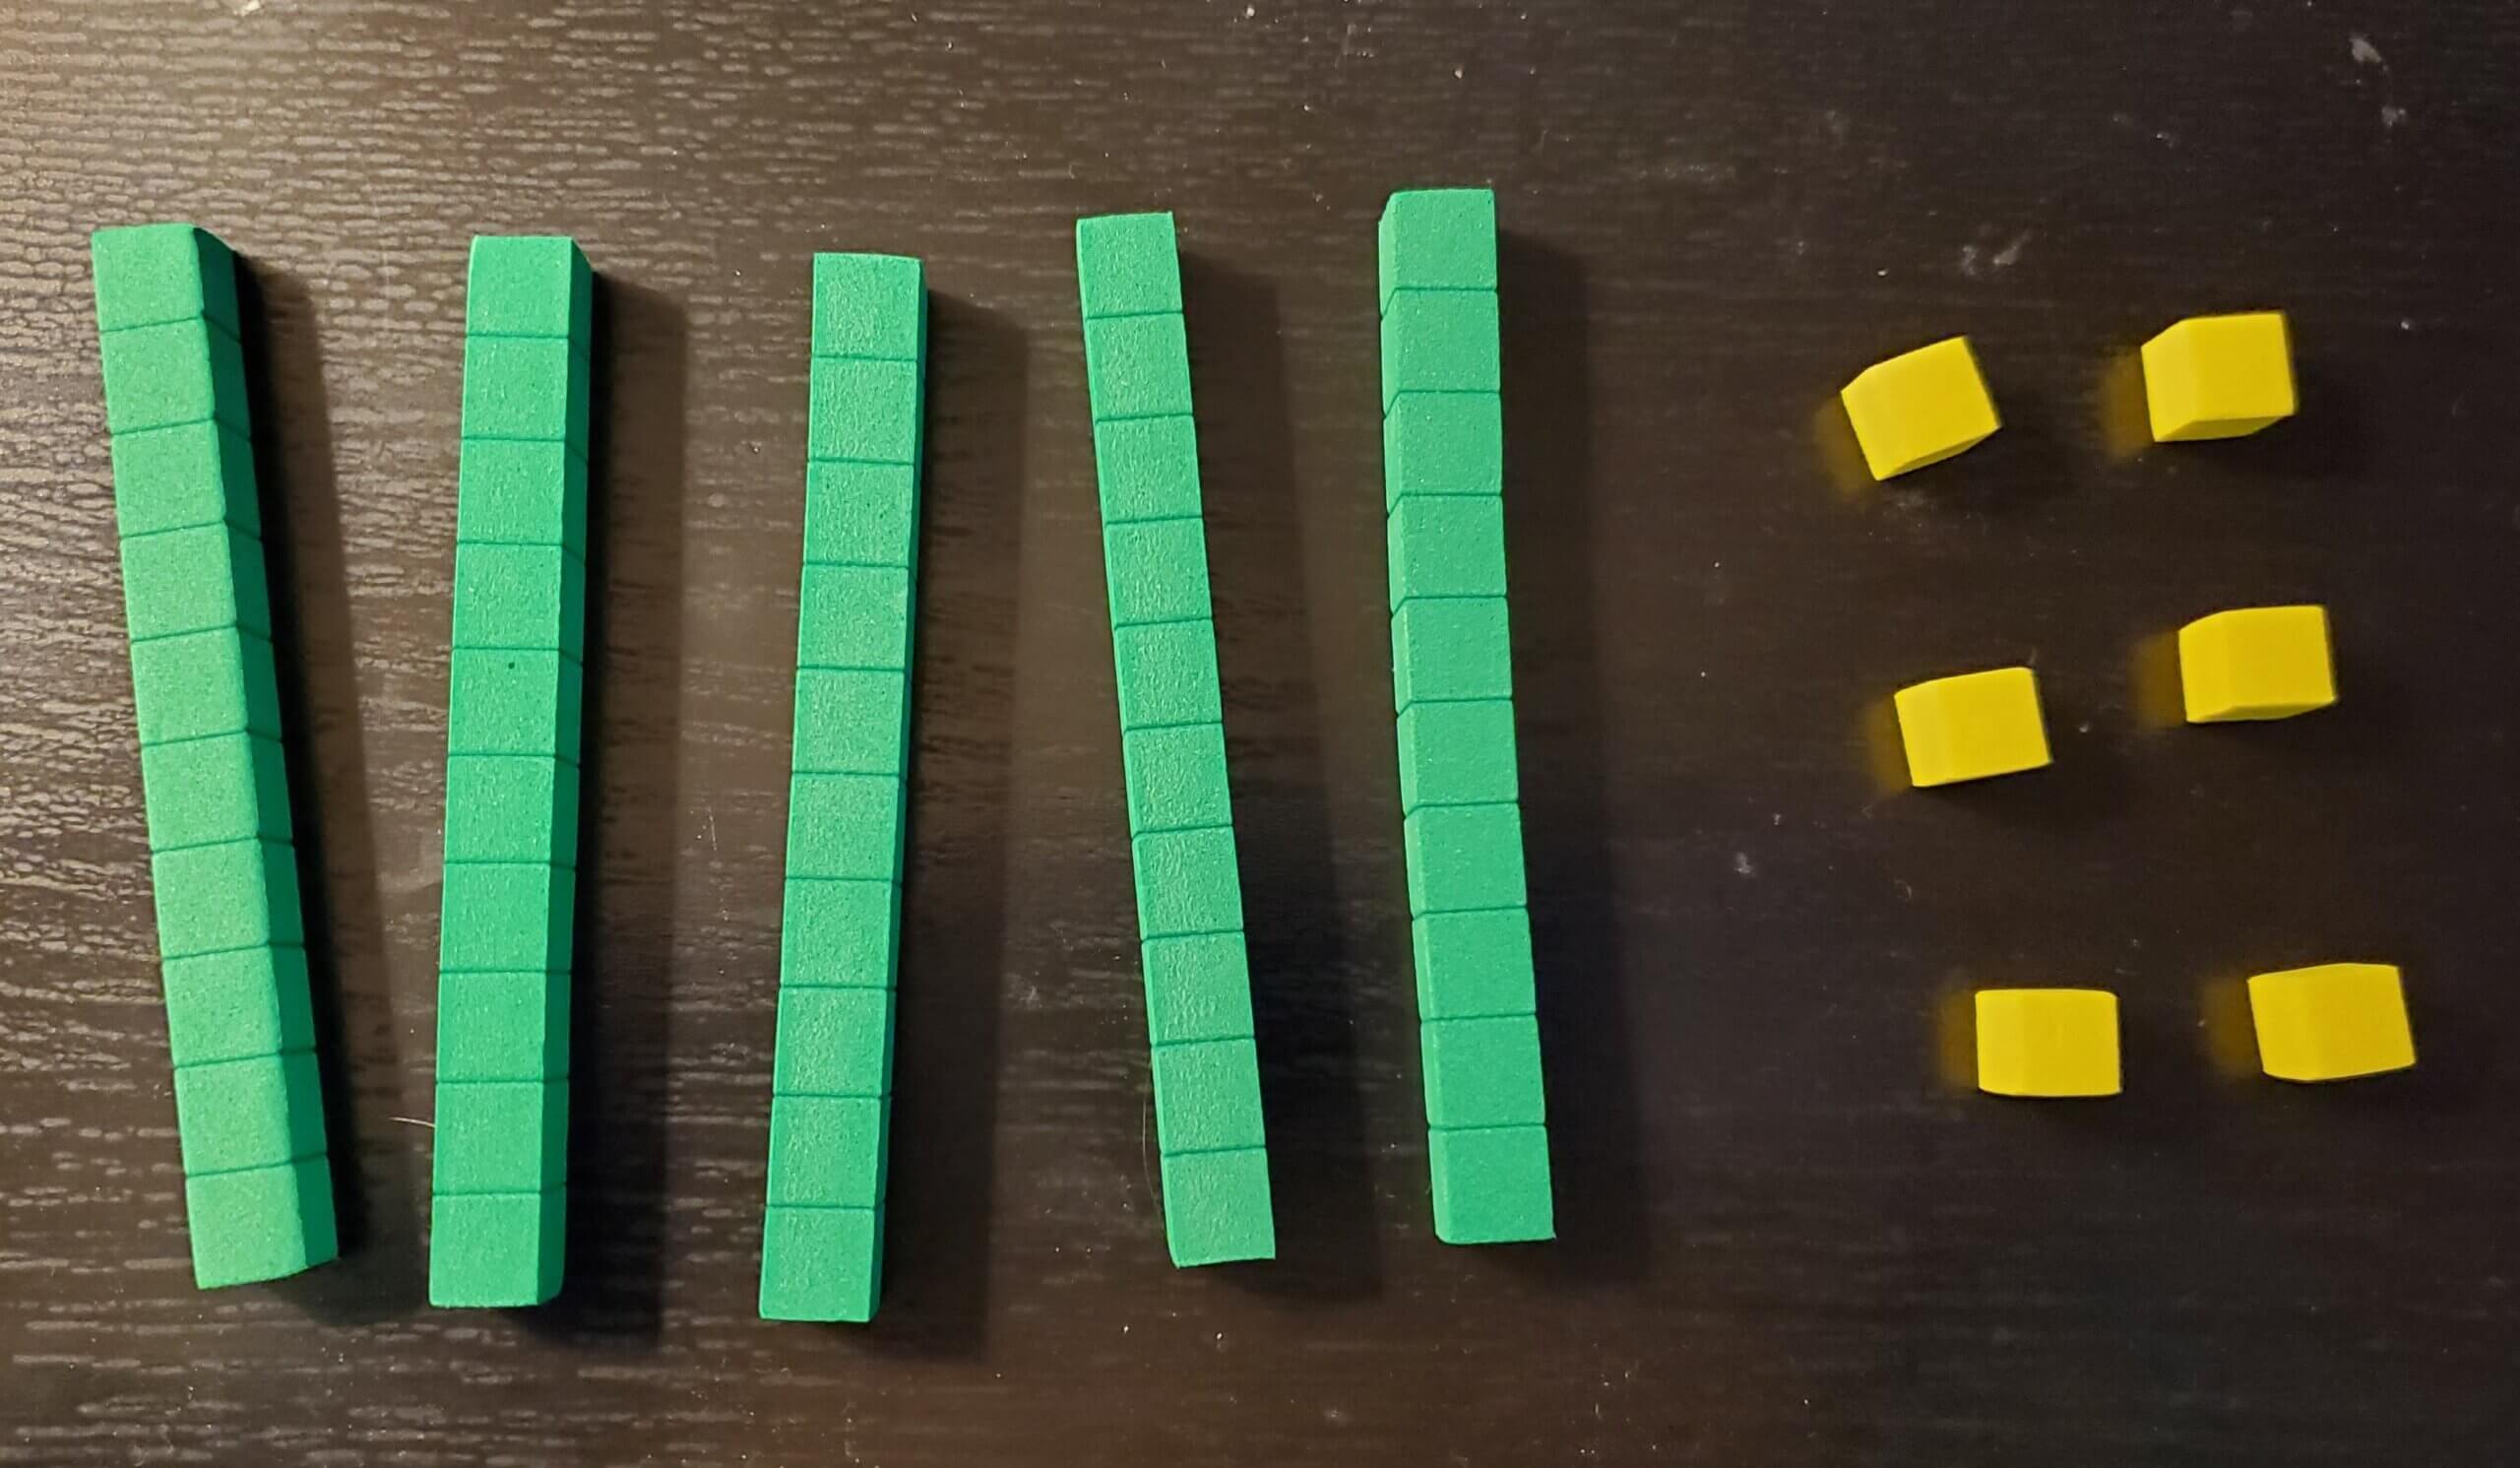
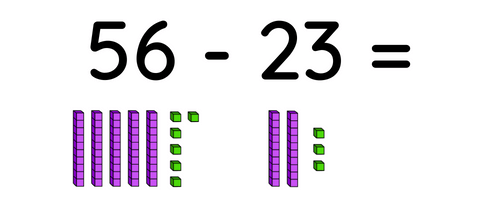
Start by building the first number in the problem with base ten blocks. For example:
Ask students to build 56 using 5 tens and 6 ones.
Tip: Avoid having them build both numbers – it’s more important to focus on the number you’re subtracting from.
56
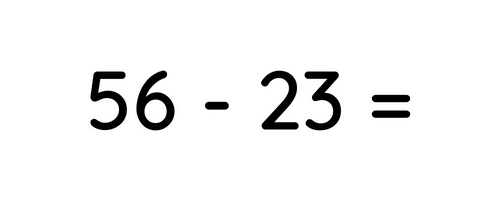
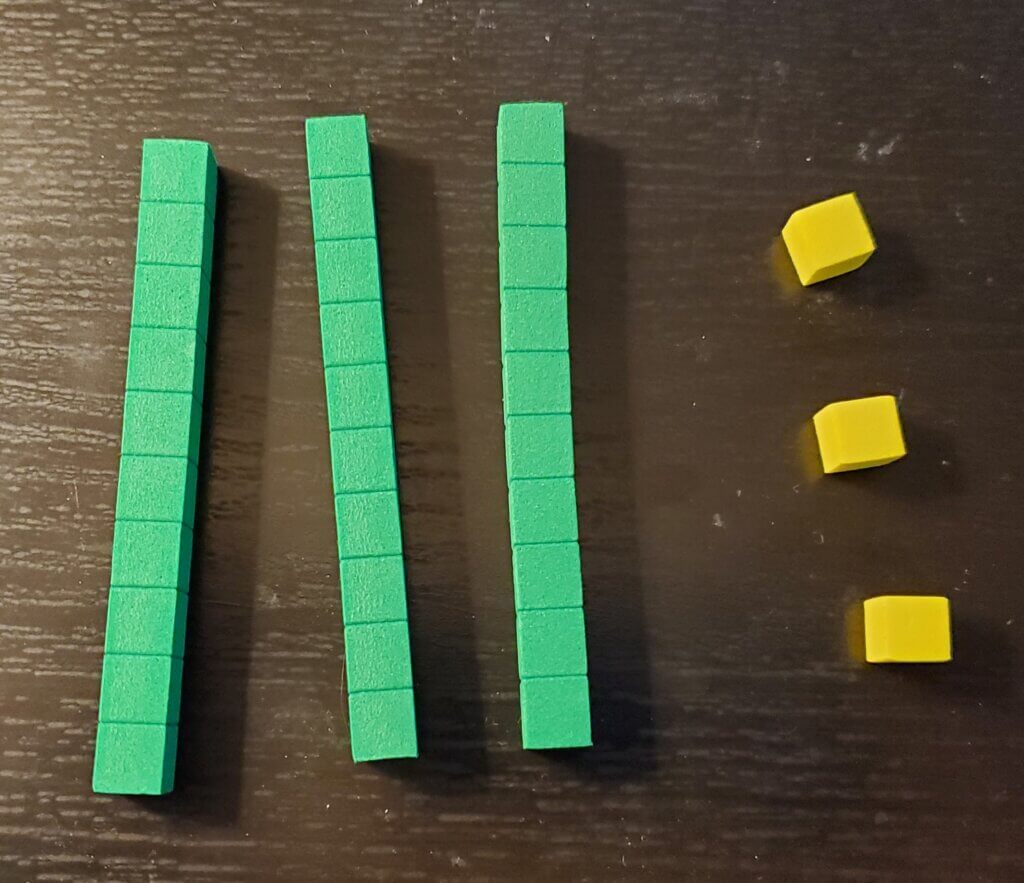
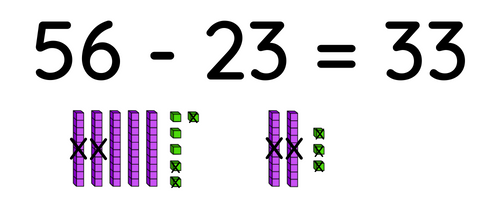
Once 56 is built, show how to take away 2 tens and 3 ones.
56 - 23 = 33
After removing those blocks, students count what’s left: 3 tens and 3 ones.
The answer is 33.
This concrete approach helps students see subtraction as removing quantities, and it’s the perfect first step for subtraction without regrouping.
If you use them often, students start to get really confident showing their own work in front of others.
Move to Drawings of Base Ten Blocks
Once students are confident with the hands-on version, they can move to paper and pencil.
This step reinforces what they already know but gets them closer to solving independently.
For the same problem:
Students can draw 5 tens and 6 ones or they might see it already drawn out.
If they are drawing the blocks, encourage them to draw neatly and space out the blocks.
Then they can cross out 2 tens and 3 ones.
Note: They only need to cross off 2 tens and 3 ones from the 56. (They might get confused if they try to do it twice.) See more information on this below.
After crossing off, they count what remains: 3 tens and 3 ones.
Again, the answer is 33.
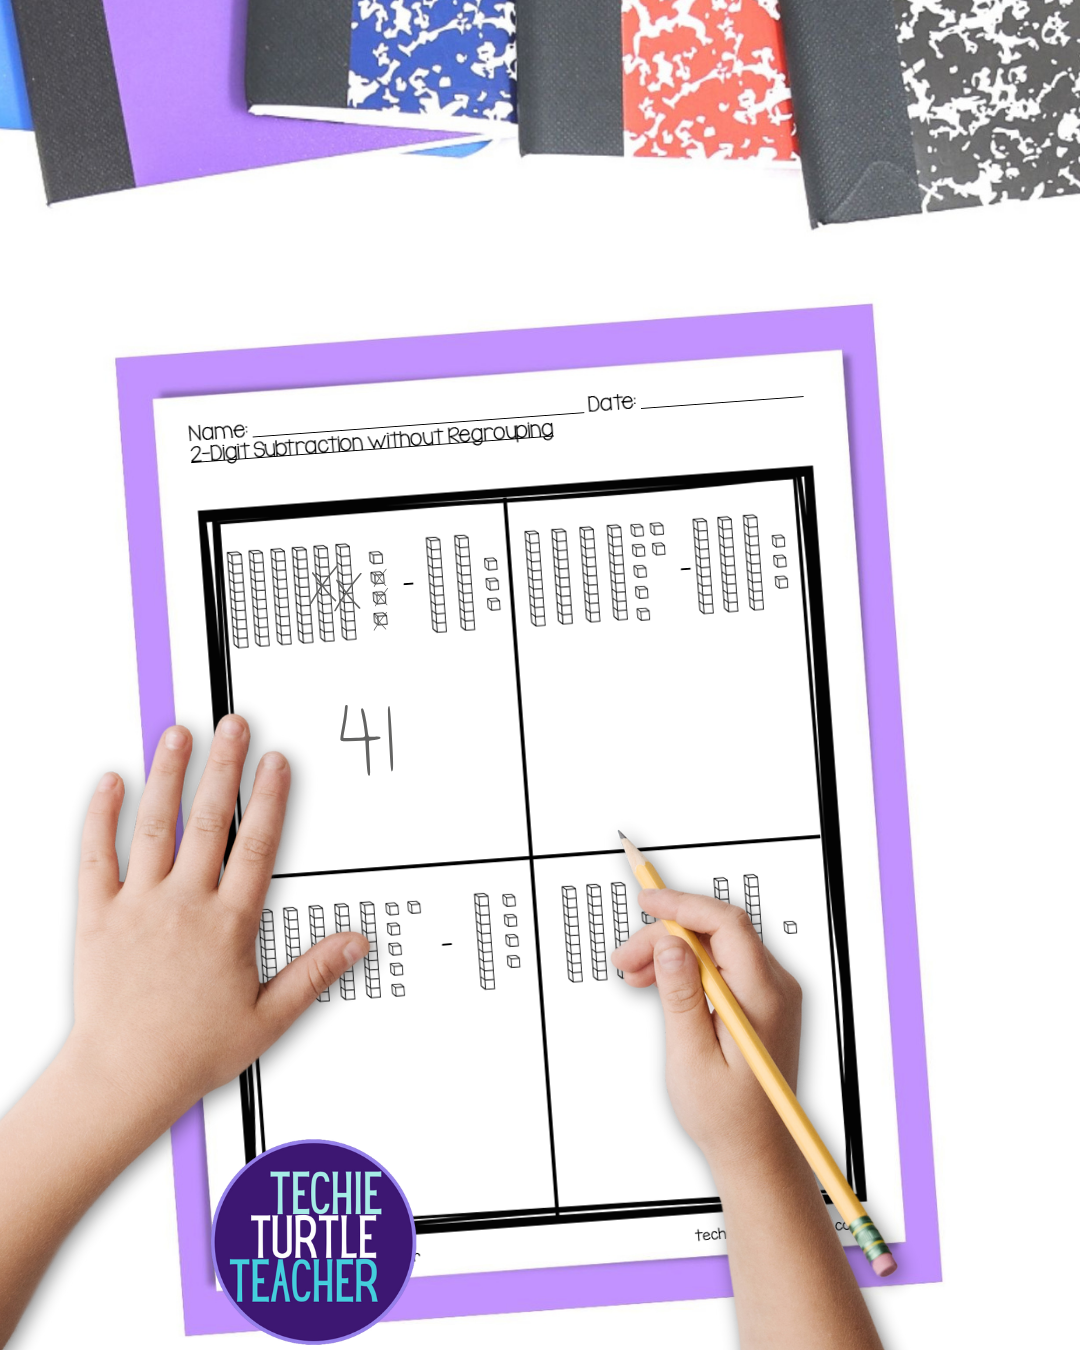
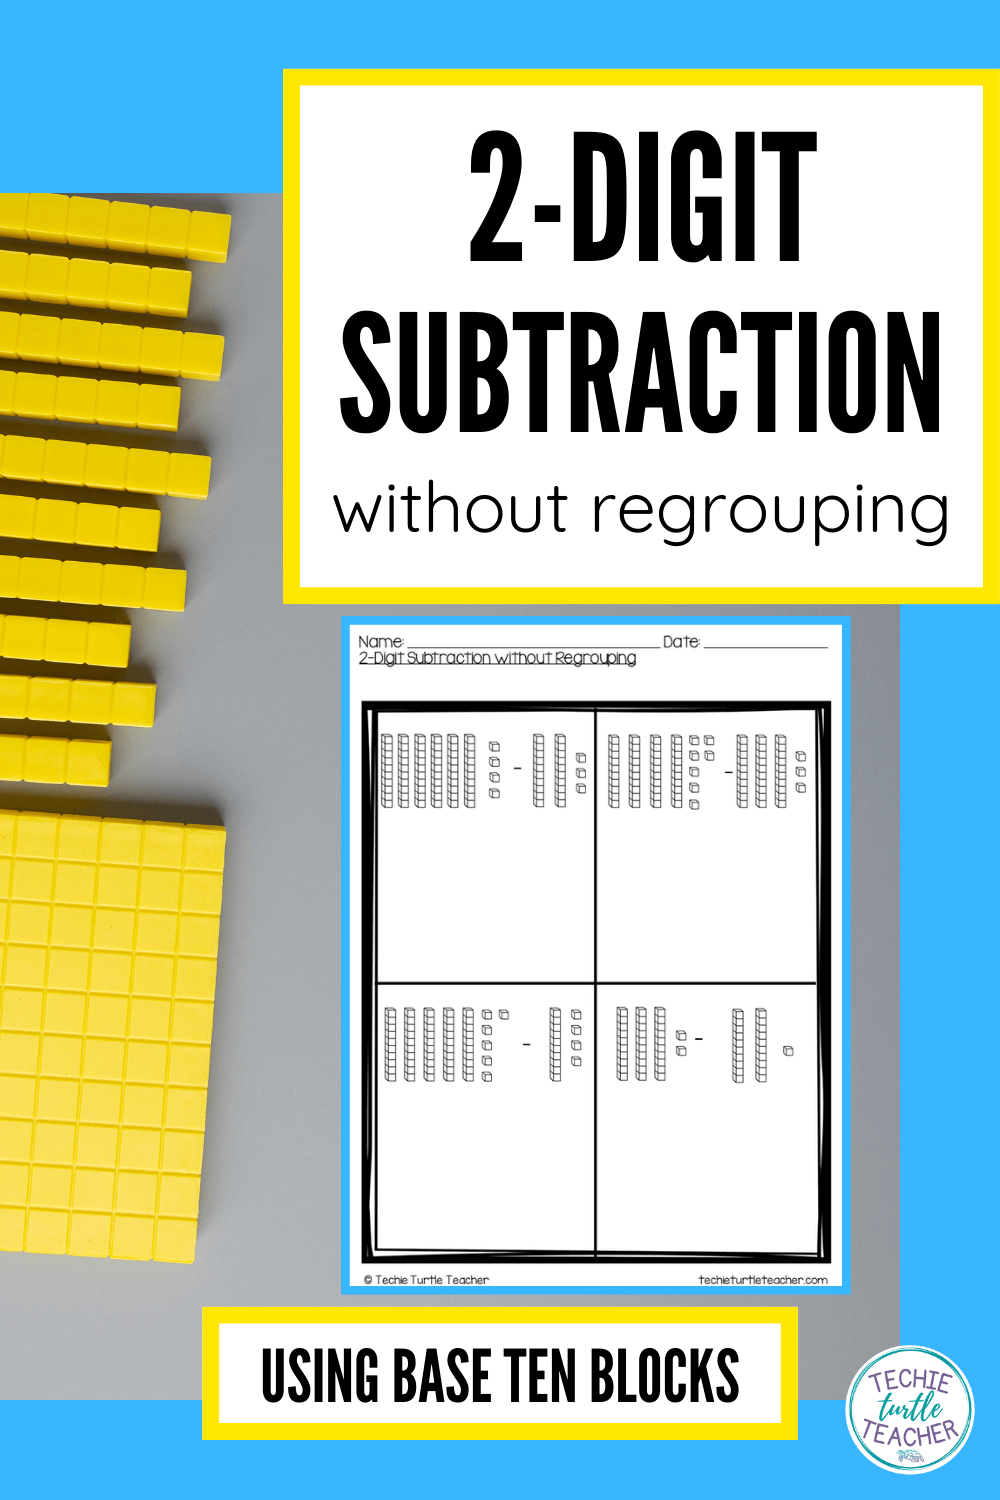
Some worksheets (including mine) show both numbers represented with base ten blocks, lined up horizontally.
For some students, especially those just starting with this strategy, that can be confusing at first.
If your students seem unsure, model how to identify which set of blocks shows the starting number and which shows the amount being subtracted.
I like to point out that the first group of blocks is what we have, and the second group is what we’re taking away.
You can guide students to cross off matching tens and ones from the first set based on the second set, so they stay focused on the action of subtracting.
Once they get used to the layout, it actually becomes helpful – students can compare the two groups side by side and clearly see what’s being removed.
With a little modeling and support, they’ll start to feel confident using subtraction without regrouping strategies, even when both numbers are shown.
Introduce Sticks and Dots
The final step in this strategy is having students represent tens and ones with sticks and dots.
It’s a quicker, cleaner way for them to show their thinking – especially on independent practice pages or assessments.
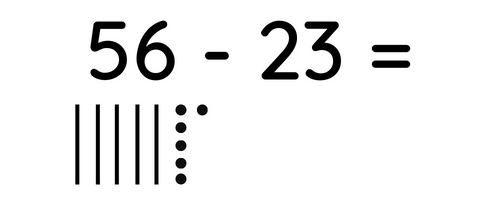
Let’s look at the same problem again.
Students draw 5 sticks (tens) and 6 dots (ones).
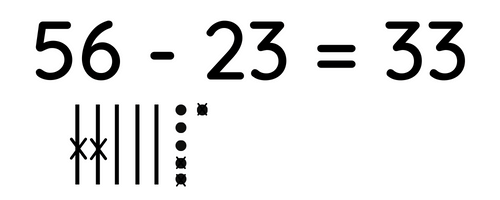
Then, they cross off 2 sticks and 3 dots.
The 3 sticks and 3 dots that remain give the answer: 33.
This method is a great next step because it allows students to solve subtraction without regrouping problems independently without needing manipulatives or detailed drawings.
It’s efficient, and students feel proud when they can solve problems this way all on their own.
To avoid confusion, teach your students to draw neatly and keep a little space between each stick and dot.
That way, crossing off is simple and the final count is clear.
Watch How to Teach this Strategy
Practice Makes Confident Subtractors
If you’re looking for no-prep printables to help your students practice subtraction without regrouping, I’ve created a resource that follows this exact progression.
It includes:
Visual practice with drawn base ten blocks
Independent practice using sticks and dots
Each page is designed to build confidence step-by-step so your students aren’t just solving problems – they’re understanding the math behind them.